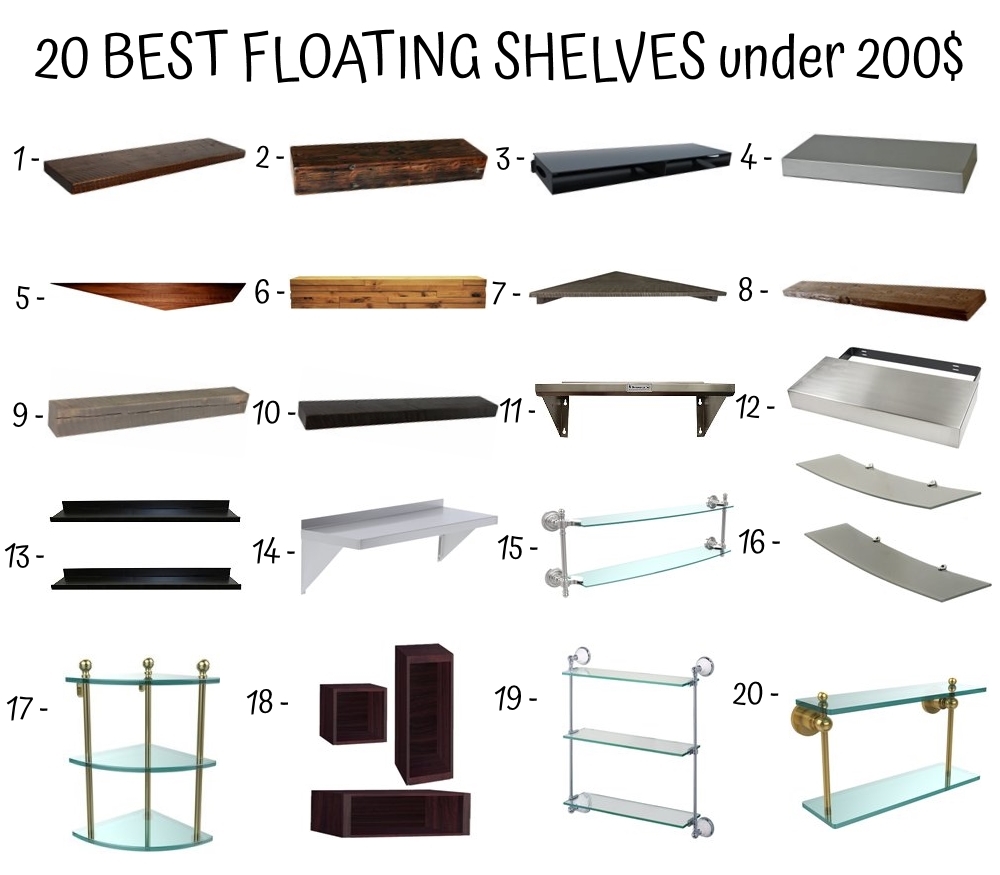
There are 20 of the best floating shelves under 200$ that I reviewed for you, enjoy!
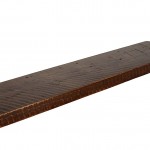
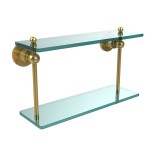
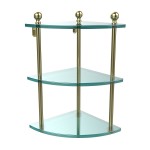
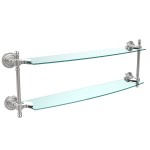
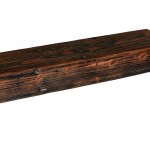
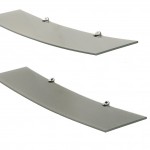
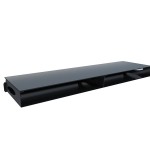
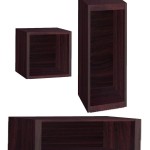
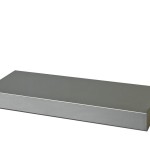
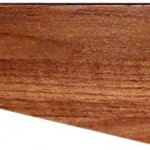
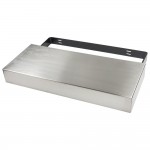
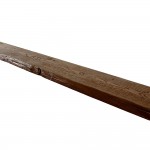
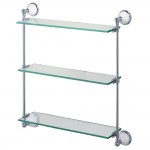
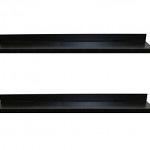
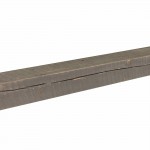
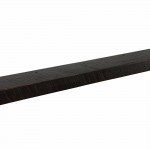
1) 48″ x 12″ x 2″, Floating, Medium Brown, Rustic, Wood Shelf | 2) Barnwood Floating Shelf Tobacco 3ft by Ludlow Barnwood | 3) Cambre cde2.2 AV On Wall Component Shelf | 4) Danver Stainless Steel Floating Shelf | 5) David Hsu Design Peliship Floating Shelves | 6) Dogberry Collections m-line-4807-gldm-none Modern Mantel Shelf | 7) Joel’s Antiques, Floating Corner Shelf | 8) Floating, Wood Shelf, Reclaimed | 9) Joel’s Antiques, Floating Mantel, Shelf | 10) Mocha: 48″ W X 7″ D X 3″ H, Rustic, Floating Wood Mantel Shelf | 11) Stainless Steel Wall Shelf | 12) Designer Floating Shelf – Federal Brace | 13) InPlace Shelving 9084682 Floating Wall Shelf | 14) Elkay Professional Series NSF Stainless Steel Wall Shelf | 15) Allied Brass RD-34/18-SCH 18″ x 5″ Double Glass Shelf Matte Black | 16) B-Modern Levit8 Modern Glass Shelves | 17) Allied Brass MA-6-SBR Triple Corner Glass Shelf Satin Brass | 18) Collection Box Shelves | 19) Gatco 1395 Franciscan Premier Glass Shelf | 20) Allied Brass AP-2/16-PB 16-Inch by 5-Inch Double Glass Shelf |
Materials
- Two 6ft long 2 x 12’s* (Kiln Dried) (Cost: $18 at Lowe’s)
- 8 Floating Brackets ($12 each on Etsy)
- One 1/2 drill bit ($5 at Harbor Freight)
- One Woodboring drill bit (< $5 a Harbor Freight)
- Tung Oil ($7 at Ace Hardware)
My wife and I have a large, blank wall in a kitchen that lacks storage, so we decided to fill the space as much as we could with the shelves. To do this, we opted for two, 6 foot long, kiln dried pine 2×12’s from Lowe’s For those of you who don’t know what a 2×12 is, it is a piece of wood that is 1.5 inches thick and 11.5 inches wide (I won’t go in to the detail as to why a 2×12 is not actually 2×12 so just trust me on this). A pretty hefty hunk of wood that is great for a large wide shelf.
Step 1: Drill the Holes in to Your Shelf
(Hardest Part!) Drill 1/2 inch holes at least 8 inches (to accommodate the bracket) into the back side of your wood. To prepare for the holes you will drill, find the studs you will be hanging in to and mark where you will drill to match the studs (This is IMPORTANT – these shelves can be heavy and definitely need a stud as an anchor).
First, you’ll need to drill a “pilot hole” using a ½ inch wood boring drill bit. You can choose to “free-hand” drill into your shelf, but we would dissuade you from doing so.
Pick up a drill guide, if you don’t already have one, at your local hardware store to help you drill your hold straight. You can pick one up at Harbor Freight for less than $20. Once you have drilled down a few inched, switch to your conventional twist drill bit to finish the job. Remember, your holes must be at least 8 inches deep to accommodate the bracket.
Step 2: Wood Prep
It’s up to you how you want your shelves to look. Some like a darker, more rustic wood while some people dig a more natural, lighter tone look. Whatever tickles your fancy is what you should go with. For us, we chose to highlight the natural beauty of our pine boards by using picking a more natural finish. Again – up to you and your personal style.
Before applying our finish, we sanded to bring out the different tones in the wood. We started with a rough grit (80) to smooth the wood, and then hit it with 120 grit sandpaper, then finally a 220 grit to smooth it out. (TIP: wipe down the wood with damp towel before sanding with your 220. This helps raise the grain and allow for the finish to better penetrate.
As mentioned before, we decided to use Tung Oil to finish the wood. Tung Oil is known to bring out the natural beauty of the wood without changing the color too much. It finishes with both a natural look and feel. If you want a more glossy or refined look, opt to finish the wood with a few coats of polyurethane or Polycrylic.
Step 3: Hanging the Shelves
This step may qualify as the second hardest part. As mentioned before, you will have wanted to line your bracket holes up with the studs you plan to hang the shelf from. To ensure you get this exact, put your brackets in your bracket holes in the shelf and then hold the shelf to your wall with the brackets touching the wall.
Have someone (this involves two people btw) use a pencil to mark where the brackets line up on the wall. Make sure they mark both the top and the side of the bracket so you will know EXACTLY where to hang it.
Once the markings are complete, put the shelf down, remove the brackets from the shelf and begin attaching them to the wall. Again, make sure you are hitting the stud when you attach these brackets. You don’t want your shelf to come crashing down, especially after you have put your grandma’s china on it.
Once the brackets are in place, simply slide the shelf on to the brackets.